Sunlight is one of the most important factors in determining where to place your garden and which plants will thrive in your space. Some plants bask in full sun, while others prefer a bit of shade throughout the day. To make the best choices, you need to know how much sun your yard gets and where it lands throughout the day and year. Here’s how to measure the sun and shade in your yard and map it out like a pro.
Understanding Sun Exposure Categories
Before mapping your yard, it’s important to know the basic sun exposure categories used for plants:
- Full Sun: At least 6 hours of direct sunlight per day. Ideal for vegetables, herbs, and sun-loving flowers like lavender and coneflowers.
- Part Sun: 4–6 hours of direct sunlight. Works for plants that like some sun but prefer a break in the hottest part of the day, like hydrangeas or astilbes.
- Part Shade: 2–4 hours of direct sun, often in the morning or late afternoon. Great for plants like hostas, ferns, and bleeding hearts.
- Full Shade: Less than 2 hours of direct sunlight. These areas are best for shade-loving plants like ferns, moss, and heucheras.
Step-by-Step: How to Measure Sunlight in Your Garden
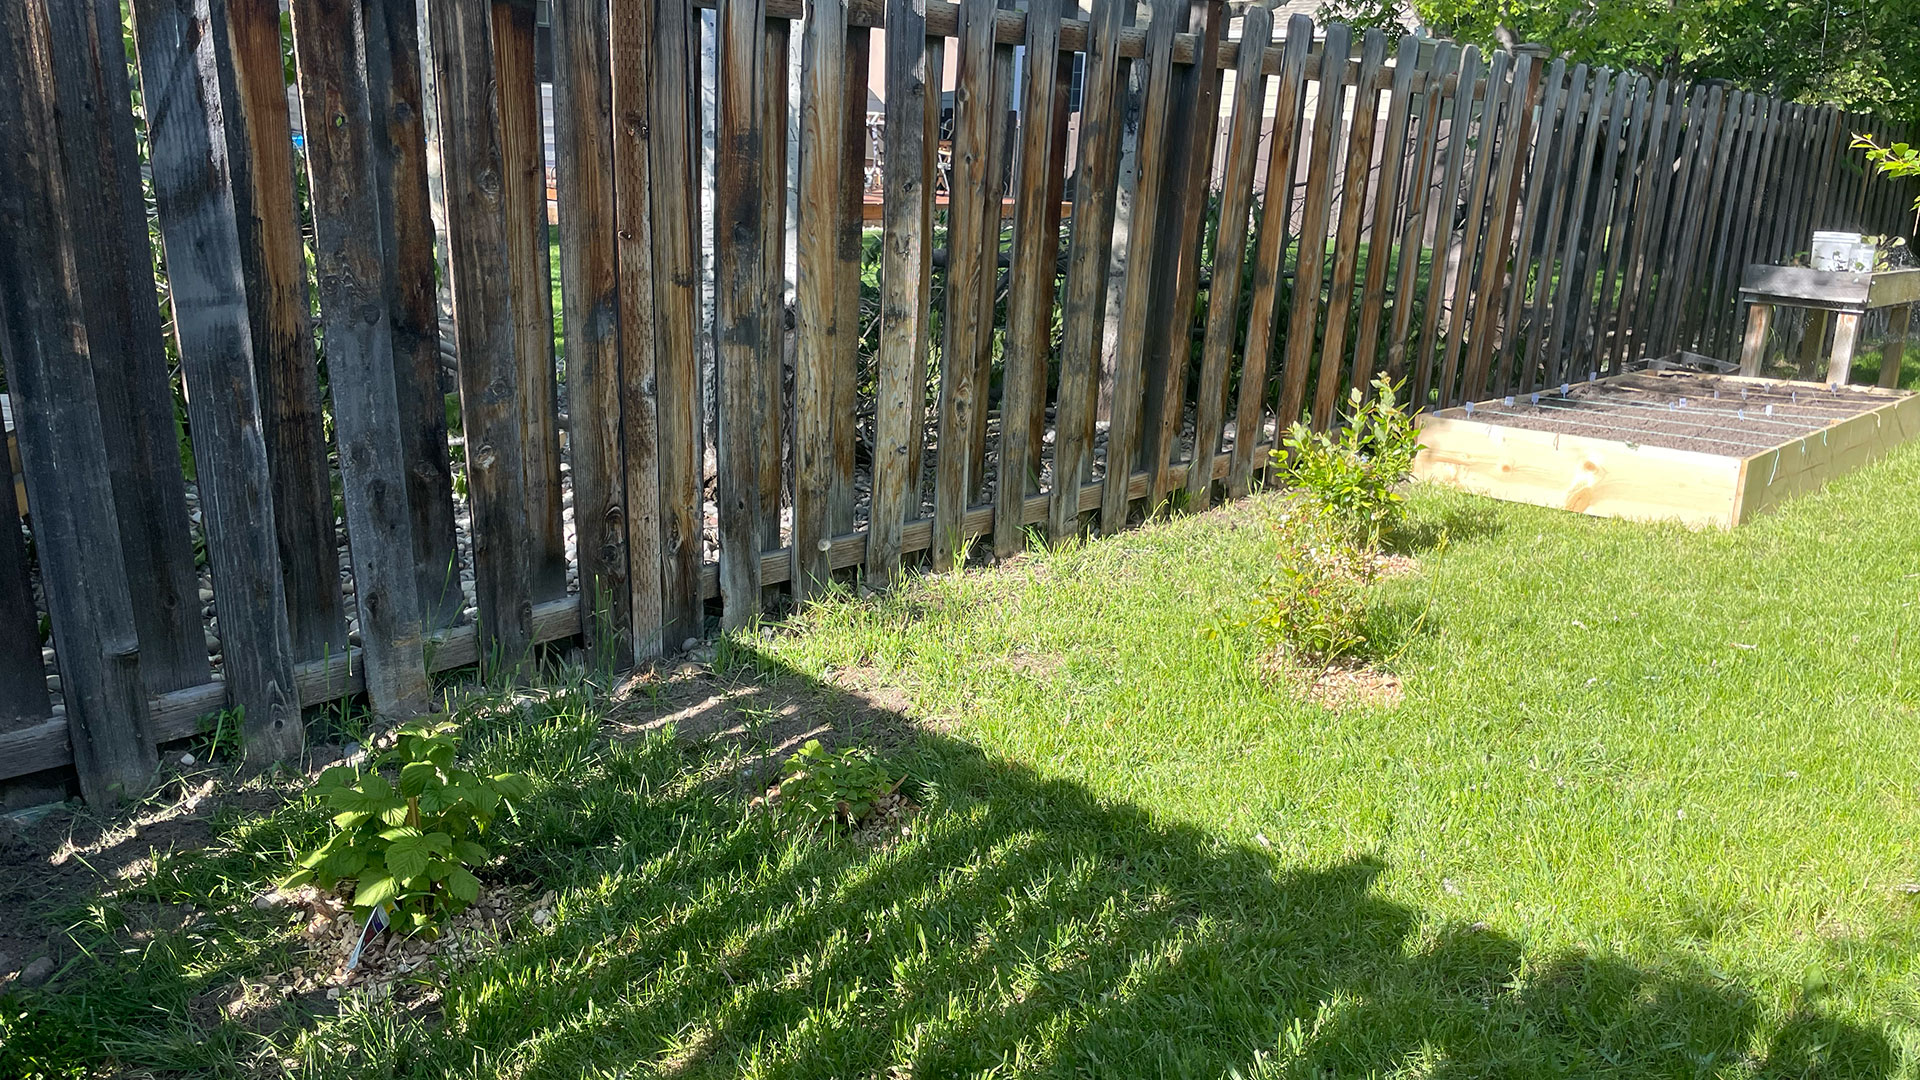
By mapping out sunlight in your yard, you can determine the best place to put a vegetable garden or different types of plants. This takes a bit of preparation, but it is worth it!
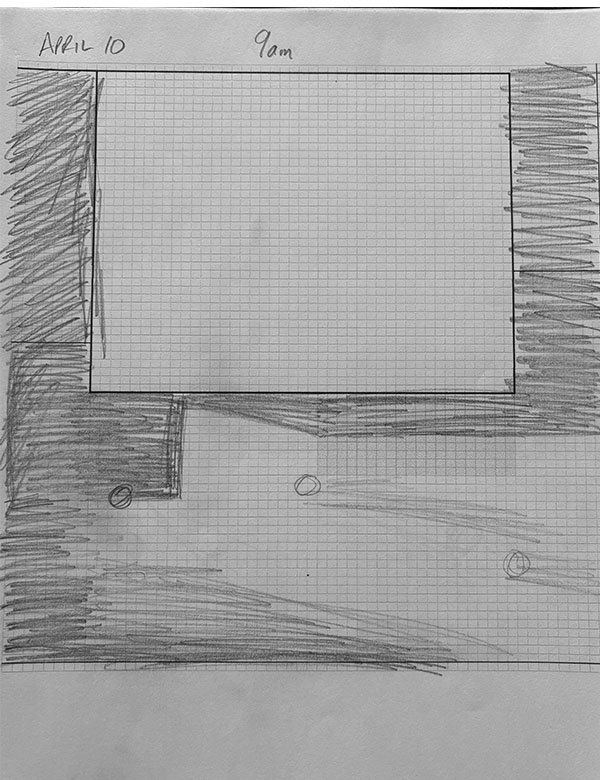
Step 1: Create a Yard Grid
Start by getting some grid paper and determining your scale. For example, one square can equal one foot. Next, measure your yard, noting distances between existing obstacles such as your house, concrete patios, fences, and trees. Using these measurements, sketch a simple layout of your yard on the grid paper, ensuring to include major features that cast shadows.
Resource: Here’s a grid template in Google Sheets with an example.
Step 2: Print at Least a Dozen Copies of your Yard Grid
Print at least twelve copies of your yard grid—one for each hour from sunrise to sunset. If you take your first measurement in the spring, keep in mind that the days will be shorter than in the summer. You will need at least one sheet per hour of daylight to accurately track the sun’s movement.
Step 3: Go Outside Hourly
Starting in the morning (as early as possible), check each section of your grid every hour. Lightly use a pencil to shade in areas that have light shadows and shade areas with hard shadows darker.
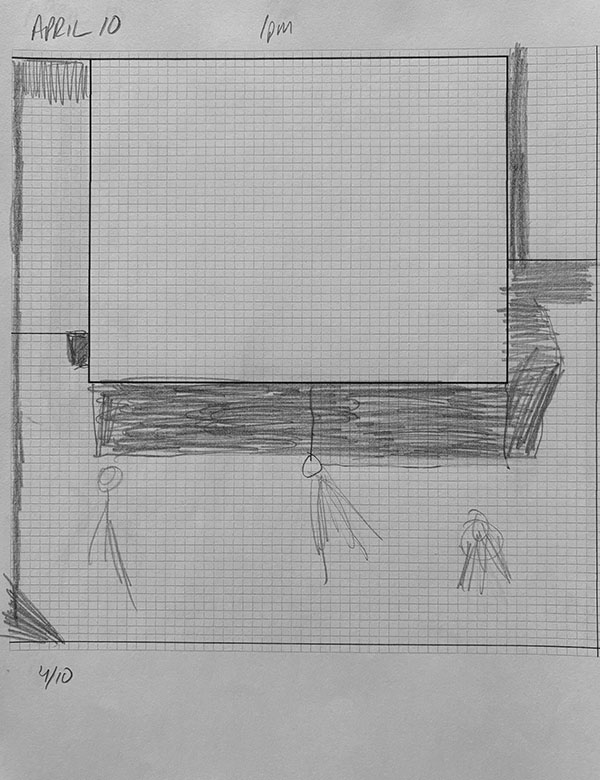
Step 4: Repeat Throughout the Day
Continue checking every hour until sunset. By the end of the day, you’ll have multiple pages that will give you a full picture of how light moves across your yard.
Step 5: Record Your Findings
Use different colors or symbols to indicate full sun, part sun, part shade, and full shade areas on your map. This will help you easily determine where to plant sun-loving veggies versus shade-loving perennials.
Step 6: Repeat During Different Seasons
The sun’s angle changes throughout the year, meaning areas that get full sun in the summer may be shadier in the fall and winter. To get the most accurate picture, repeat this process at least once per season, especially in early spring and late summer.
Why This Matters
By mapping your yard’s sun exposure, you can place your garden beds, trees, and shrubs in the best possible locations for their light needs. This saves you time, money, and frustration by ensuring that your plants thrive from the start.
So grab a notebook, head outside, and start mapping! Your future garden will thank you.