Last year, my garden didn’t mature on time. I ended up with a few zucchinis and a dozen tomatoes that never fully ripened—definitely not the harvest I was hoping for. After reflecting on what went wrong, I realized my timing was off. So this year, I decided to learn how to start seeds indoors and transplant them outside after the last frost date.
To give my plants the best possible start, I planted my seeds on April 1, aiming for a solid 8 weeks of indoor growth before moving them outside. According to my gardening database (and a lot of trial and error), many vegetables thrive when given 6–8 weeks to grow indoors before transplanting. Since the last frost in Bozeman usually falls around June 1—Memorial Day weekend or May 26, based on the National Gardening Association—I figured this timing should set me up for success.
If you’re looking to do the same, here’s a step-by-step guide to planting seeds in cell trays indoors, based on what I did this spring.
My Garage Setup
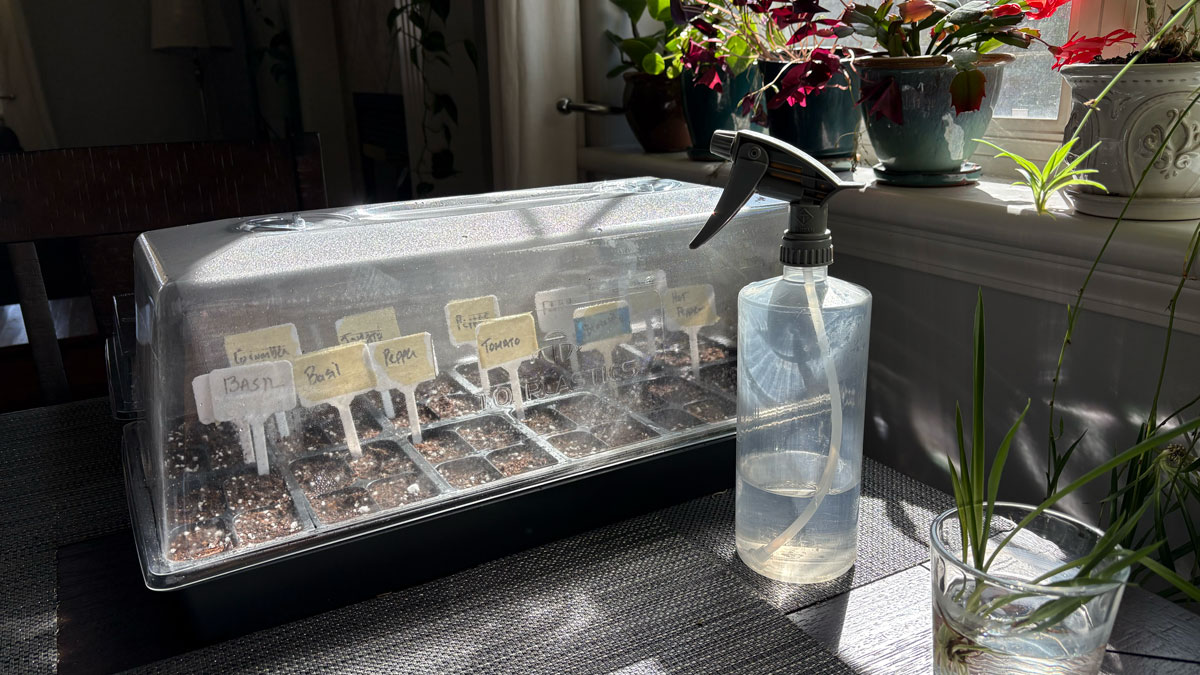
In preparation for this experiment, I put together a small setup in the garage that includes two seed trays. Each seed tray has (8) 6-cell inserts for 96 individual planting cells. I also purchased two plastic domes that act as mini-greenhouses to keep the soil moist, because Bozeman tends to be a little dry. Also, because of our highly variable spring temperatures, I got two heat mats that increases soil temperature by about 20°F above the ambient temperature. These go under neath the trays. Finally, I purchased two grow lights on 12-hour timers, so I could put one over each seed tray.
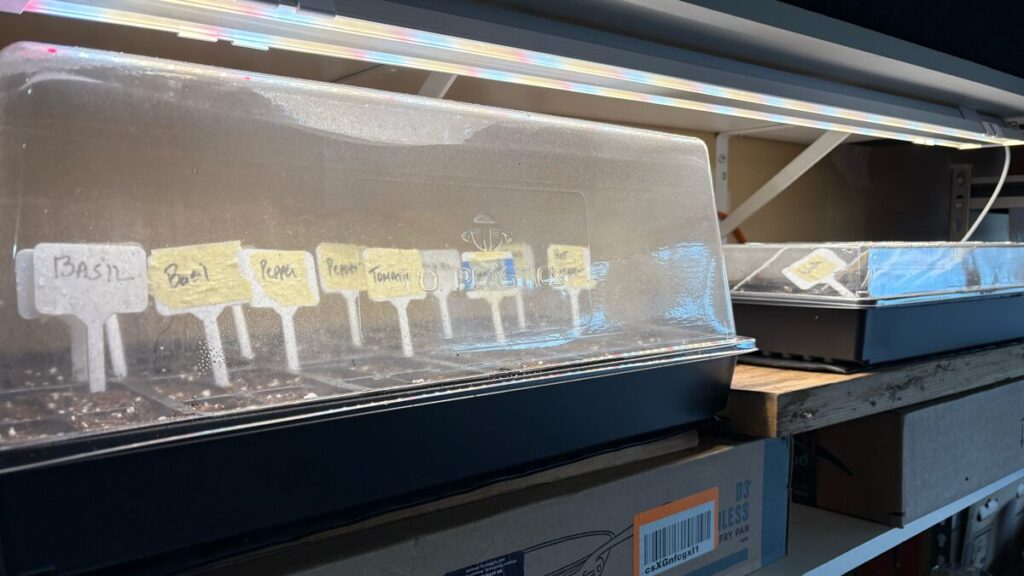
The above image is my garage setup. I raised the seed trays up so they would be closer to the lights. I put boards on top of the cardboard box risers just to be on the safe side. The maximum temperature on the heat mats is 90-100 degrees Fahrenheit, but I didn’t want to take any chances.
Materials Needed
- Seed-starting cell trays (with drainage holes)
- Seed-starting mix (light and fluffy, not regular potting soil)
- Seeds of your choice
- Water (and a spray bottle or watering can)
- Labels or markers
- Humidity dome (optional but helpful)
- Grow lights or a bright windowsill
- Heating mats (optional, for warmth-loving seeds like tomatoes and peppers)
How to Start Seeds Indoors: Step-by-Step Instructions
1. Prep Cell Trays
Start with clean trays that have individual cells and drainage holes. If you’re reusing trays, sanitize them with a mild bleach solution (1 part bleach to 9 parts water) to prevent mold or disease. I bought mine at Cashman’s for a very reasonable price. I have (2) 48-cell trays with humidity domes.
2. Fill With Seed-Starting Mix
Use a fine-textured, sterile seed-starting mix—not potting soil. Fill each cell loosely and tap lightly to eliminate air pockets, but don’t pack it down. Again, I bought a couple bags of seed-starting mix of this at Cashman’s. It was light and airy, perfect for tender roots to form (unlike our clay-heavy soil outside.)
3. Moisten the Soil
Before planting, moisten the mix with warm water until it’s damp (but not soggy). This helps the seeds stick and start absorbing moisture right away. I had to do a couple passes over a day or two to ensure the soil was evenly moist.
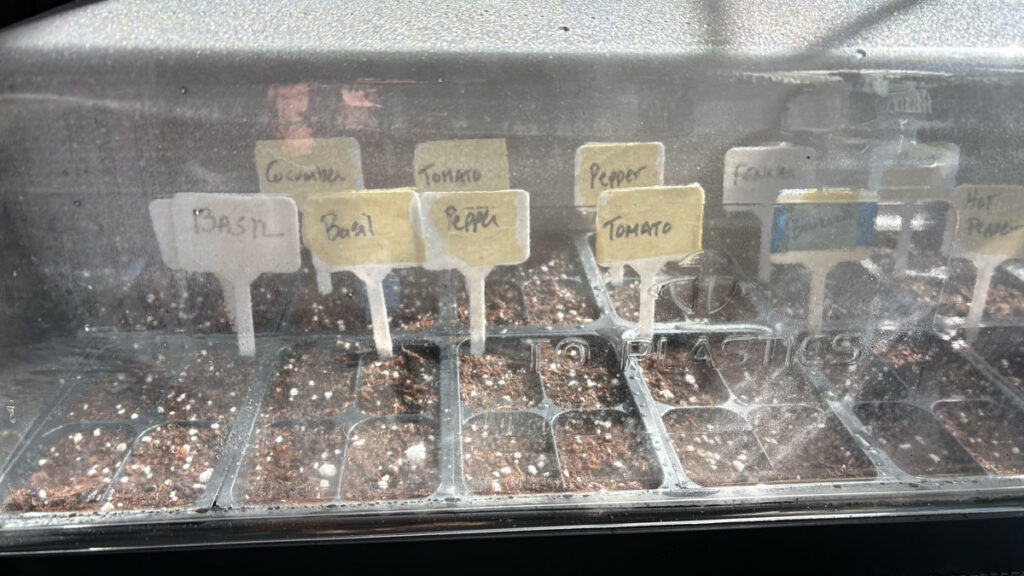
6. Label the Cells
Trust me—label everything! I used tape and a marker on sticks in the trays so I could keep track of what was what once they started sprouting. I also, marked them prior to planting, according to the garden plan I laid out in my previous post.
5. Plant the Seeds
Check the seed packet for depth. As a general rule, plant seeds at a depth of about twice their size. I usually put 1–3 seeds per cell and cover lightly with soil mix. Smaller seeds are planted about 1/4 inch deep and 3 per cell. Larger seeds up to a half inch and one per cell. See my gardening database for a full list of seed depths and number per cell.
6. Water Gently
Use a spray bottle or a gentle watering can to avoid washing the seeds away. Keep the soil consistently damp until germination.
7. Cover With a Dome (Optional)
I used a humidity dome to keep moisture and warmth in, especially during the first few days. Once the half of the seeds sprouted, I removed it to avoid mold.
8. Provide Light and Warmth

The first few days, I kept my seed trays indoors because it was still in the teens at night. Once it warmed up again, I moved them to my setup in the garage where it stays about 35 in the winter, and 55 inthe summer. I placed my trays under grow lights for about 12 hours a day and turned the heat mats on when the weather dipped below 50. Most seeds like warmth (65–75°F) and the heat mats keep the soil temperature about 20 degrees warmer that the surrounding temperature.
9. Keep Moist as Needed
I checked the seeds daily to ensure they were kept moist and added a little water when necessary. The soils shouls always be dark brown. If it looks light brown, it needs more water.
Watch for Sprouts
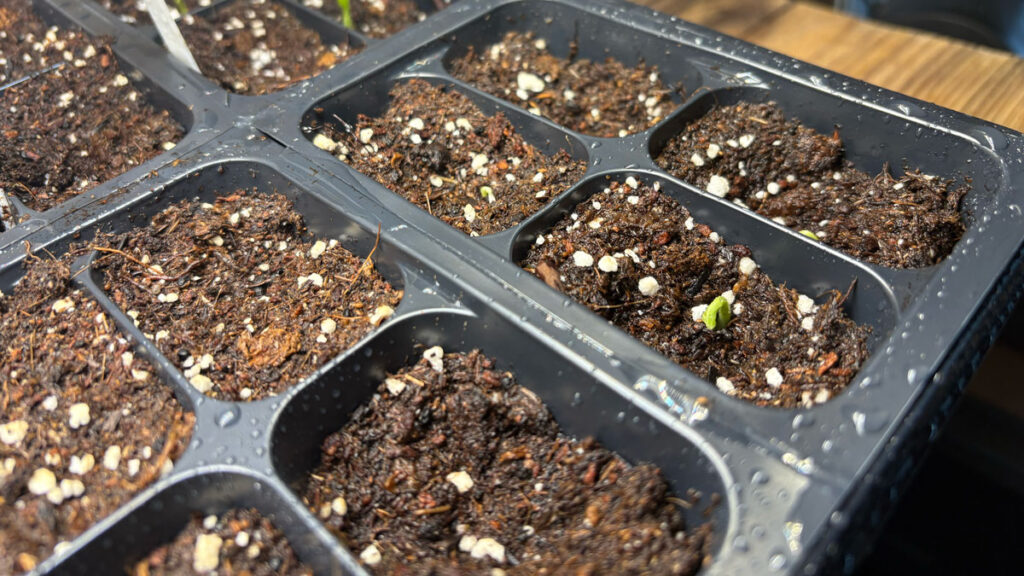
My first seedlings began to pop up in under a week! Many were visible in under two weeks. The onions are not doing as well. Aparently it is difficult to get viable onion seeds.
My next step will be to thin the seedlings and transplant them.
Bonus Tips:
- If keeping trays by a window, rotate trays daily to keep plants from leaning toward the light.
- Brush your hand across the tops gently to mimic wind—this helps build stronger stems.
Final Thoughts
Starting seeds indoors gave me more control over timing and growing conditions—and hopefully, this season’s harvest will show it. With about 8 weeks of strong indoor growth under their belts, my plants should be ready to thrive once they hit the garden in early June. If you’re aiming for a more productive garden this year, give this method a try—it’s simple, satisfying, and really effective.